

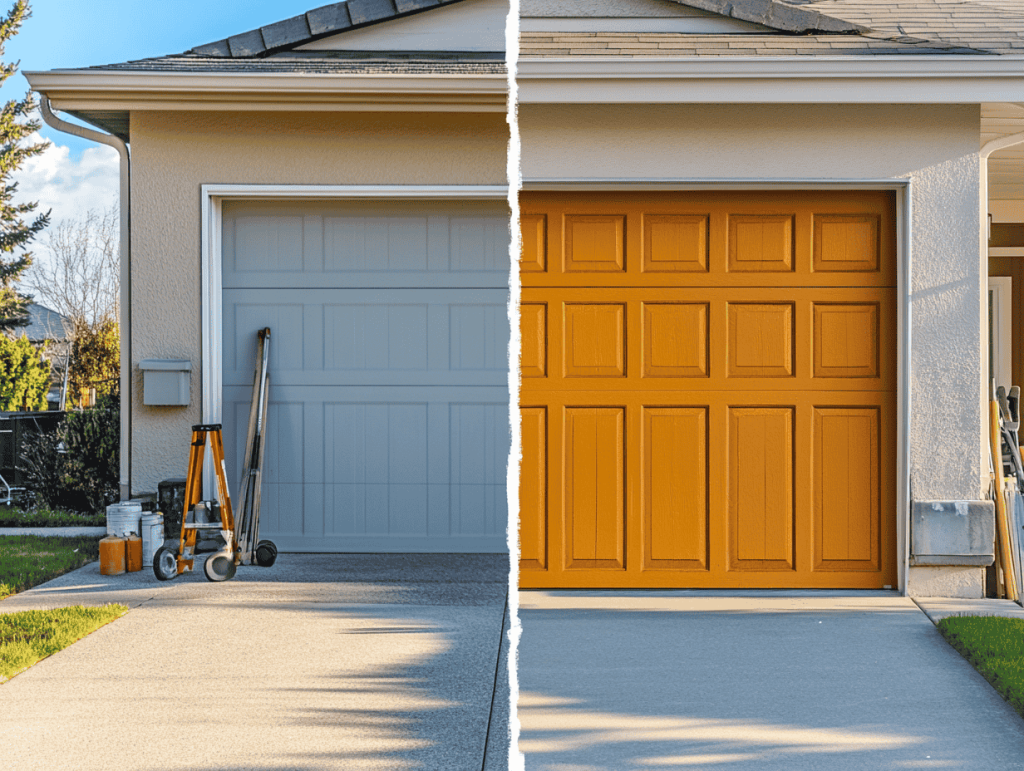
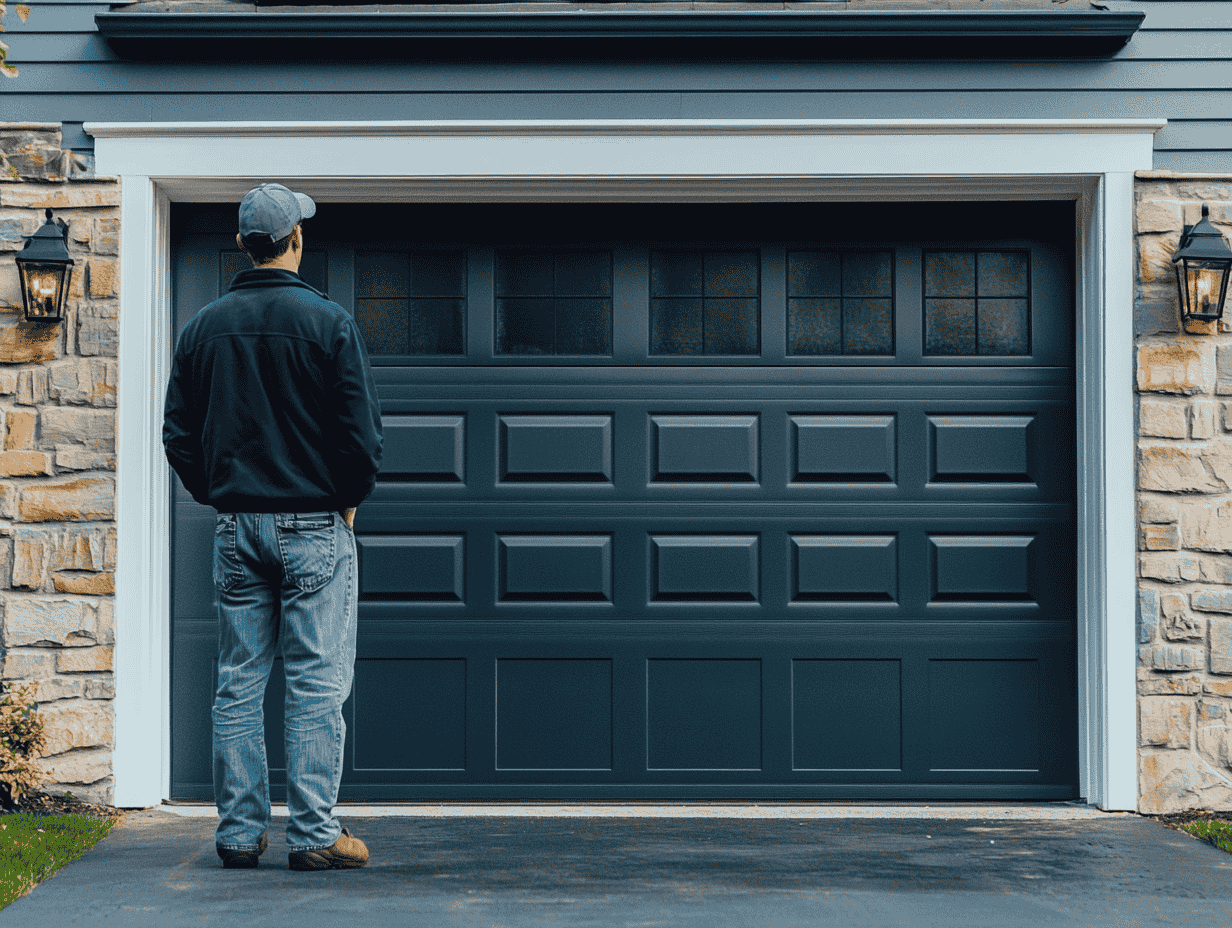
Painting your garage door is a relatively simple yet impactful way to improve the overall look of your home. The garage door is often one of the most prominent features of a house’s exterior, making it a key element in kerb appeal. A fresh coat of paint can completely transform an ageing or outdated garage door, giving your home a more modern, clean, and well-maintained appearance.
Beyond aesthetics, painting your garage door serves a practical purpose. It helps protect the door from weather damage, such as rust on metal doors or moisture penetration on wooden ones. This added layer of protection extends the lifespan of the door and ensures it remains in good condition for years to come. Additionally, regular painting can prevent cracks, fading, or peeling, maintaining the door’s durability in various climates.
Painting your garage door is a project most homeowners can tackle on a weekend. While it does require some preparation—cleaning, priming, and gathering the right tools—the results are well worth the effort. In this guide, we’ll walk you through each step of the process, from prepping the door to applying the finishing touches, ensuring your garage door looks great and stands up to the elements.
Table of Contents
Tools and Materials Needed
When preparing to paint a garage door, gathering the right tools and materials is crucial for a successful and efficient project. Having everything ready before you start will save you from unnecessary interruptions and ensure the job is completed smoothly.
Tools
- Paintbrushes and Rollers: A high-quality set of paintbrushes and rollers is essential for applying paint evenly. Use a medium-sized roller (around 9 inches) for the large, flat panels of the garage door, while a smaller, angled brush is ideal for more detailed areas, such as edges or around handles and windows.
- Drop Cloths or Plastic Sheeting: To protect the ground and nearby surfaces from paint splatters and spills, lay down drop cloths or plastic sheeting around the area you’re painting. This makes clean-up much easier and prevents any unwanted damage.
- Painter’s Tape: Masking off areas you would rather not paint, such as window frames, door handles, locks, or trim, is vital. Painter’s tape allows for crisp, clean lines and prevents paint from getting on areas that should remain untouched.
- Screwdriver or Wrench (Optional): If your garage door has handles, locks, or other hardware that can be removed easily, taking them off before painting will make the job easier and cleaner.
- Stepladder: Depending on the size of your garage door, a stepladder may be necessary to reach the top sections. Make sure it’s sturdy and safe to use.
Materials
- Exterior Paint: Selecting the right type of paint is key to the longevity and appearance of your garage door. For metal doors, choose a high-quality, rust-resistant paint that can withstand the elements. For wooden or vinyl doors, opt for an exterior-grade latex paint that provides durability and weather resistance. Most homeowners prefer semi-gloss or satin finishes for garage doors, as they are easier to clean and offer a subtle sheen.
- Primer: Priming your garage door is essential, especially if the door is bare, has peeling paint, or you’re making a significant colour change. A good exterior primer will improve adhesion, even out the surface, and enhance the durability of the final paint layer.
- Sandpaper (Medium Grit, 120-150): Sanding the garage door before painting is critical for removing old paint, rust, or rough patches. Use medium-grit sandpaper to smooth the surface, allowing the new paint to adhere better.
- Cleaning Supplies: You’ll need a bucket of warm, soapy water, sponges, or a soft brush to clean the door thoroughly before painting. Removing dirt, grime, and any oil build-up is important to prevent paint from peeling or not sticking properly.
- Safety Gear: Please note personal protection! Wear safety goggles, gloves, and a dust mask, especially when sanding or working with chemicals. These precautions will help protect your eyes, skin, and lungs from harmful particles and fumes.
Additional Items (Optional)
- Paint Sprayer: If you prefer a smoother finish or have a larger garage door, using a paint sprayer can be more efficient. Sprayers can provide a uniform coat of paint but require some practice to avoid drips or uneven application.
- Stir Sticks and Paint Trays: Always stir your paint thoroughly before use, and have clean paint trays ready for both primer and paint.
With the right tools and materials in hand, you’ll be well-prepared to tackle the job. Next, we’ll focus on how to prepare your garage door properly before painting to ensure a smooth and long-lasting finish.
Preparing the Garage Door for Painting
Proper preparation is the key to a professional-looking, long-lasting paint job. Skipping this step can lead to poor paint adhesion, uneven finishes, or early deterioration. Here’s a detailed guide on how to prep your garage door before painting.
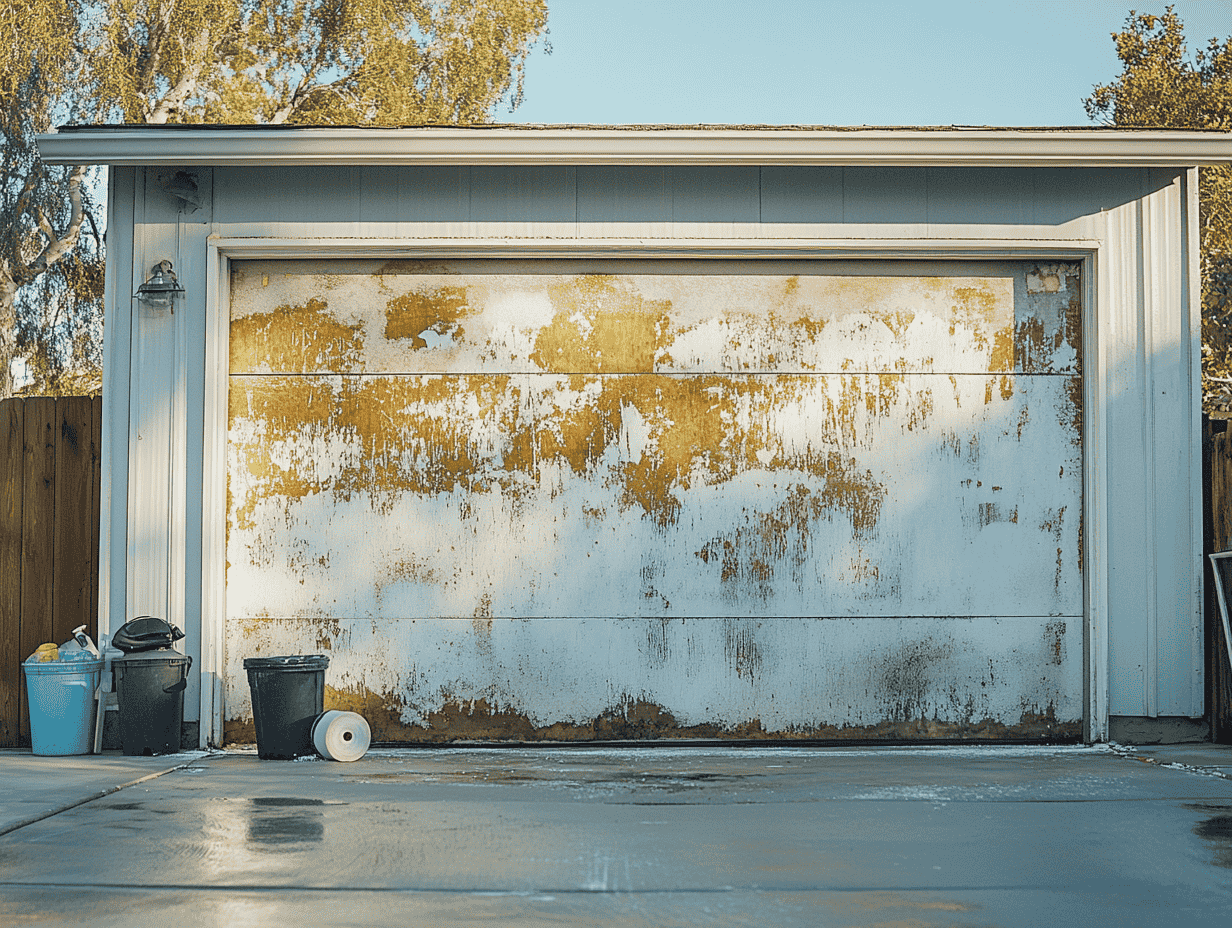
Cleaning the Garage Door
Start by cleaning the entire surface of the garage door. Over time, dirt, grime, oil, and other residues build up, which can prevent paint from sticking properly. Here’s how to clean the door effectively:
- Use a mixture of warm water and mild detergent. A simple solution of dish soap and water works well. Avoid harsh chemicals as they may damage the door’s surface.
- Scrub with a soft sponge or brush. Focus on areas that are particularly dirty, such as the bottom of the door where dust and debris tend to accumulate. For stubborn spots, a mixture of water and vinegar can help break down grease and grime.
- Rinse thoroughly with a garden hose. Make sure there’s no soap residue left, as this could interfere with paint adhesion.
- Let the door dry completely. It’s important to allow the door to dry fully before moving on to the next step. Depending on the weather, this could take a few hours.
Inspecting for Damage
Before painting, check the garage door for any damage that may need repair:
- Look for cracks, dents, or rust. If the door is metal, check for rust spots or areas where the old paint has bubbled or flaked off. For wooden doors, look for cracks, splinters, or signs of rot.
- Repair any damage. For small dents in metal doors, a quick fix with sandpaper and filler can help smooth them out. Use a rust converter for any rusted areas to prevent further corrosion. Wooden doors may require wood filler to patch cracks or damaged areas.
Sanding the Surface
Sanding the garage door helps to create a smooth surface for the new paint to adhere to:
- Use medium-grit sandpaper (120-150 grit). Sand the entire door, focusing especially on any rough patches, peeling paint, or areas where rust was present. This process helps to remove any imperfections and provides a better grip for the primer and paint.
- Wipe away dust and debris. After sanding, use a damp cloth to remove any remaining dust. This is important because dust particles can ruin a smooth paint finish.
Masking and Taping
Next, you’ll want to mask off areas that you don’t want to be painted:
- Apply painter’s tape around windows, trim, and handles. Make sure the tape is pressed down firmly to prevent any paint from bleeding through.
- Cover the ground and nearby areas with drop cloths. This protects the surrounding area from paint drips and splatters.
Choosing the Right Weather Conditions
It’s essential to pick the right day to paint your garage door. Here are some key weather considerations:
- Mild temperatures between 10°C to 23.9°C (50°F to 75°F) are ideal. Extreme heat or cold can affect how the paint dries and adheres.
- Low humidity is best. High humidity levels can cause the paint to dry slowly or unevenly.
- Avoid windy or rainy days. Wind can blow dust or debris onto your freshly painted door, while rain can wash away the paint or leave streaks.
By following these preparation steps, your garage door will be ready for priming and painting, ensuring that the finished product is smooth, durable, and visually appealing.
Priming the Garage Door
Priming your garage door is a crucial step that helps ensure long-lasting results. Primer not only helps the paint adhere better to the surface but also provides an even base, especially if you’re making a significant colour change or painting a surface that has been exposed to the elements.
Choosing the Right Primer
The type of primer you select should depend on the material of your garage door:
- For metal garage doors: Use a rust-inhibiting primer. Metal doors are prone to rust, especially in humid climates, and a good primer will protect the surface from further corrosion.
- For wooden garage doors: Choose a wood-specific exterior primer. Wood is porous, and a primer will help seal the surface, preventing moisture from seeping in.
- For vinyl garage doors: While vinyl doesn’t require as much priming as wood or metal, using a bonding primer designed for vinyl surfaces ensures that the paint will adhere well.
Look for primers specifically designed for exterior use, as they offer better durability and weather resistance.
Applying the Primer
Once you’ve chosen the right primer, it’s time to apply it:
- Stir the primer thoroughly. Before application, stir the primer to ensure it’s well-mixed. This will prevent uneven coats and clumping.
- Use a roller for large surfaces. For most of the garage door, use a medium-sized roller to apply the primer in smooth, even strokes. Start from the top of the door and work your way down.
- Use a brush for detailed areas. Switch to a smaller brush for edging around windows, trims, and any other detailed sections of the garage door.
- Apply thin, even coats. Thick layers of primer can lead to drips or uneven coverage. It’s better to apply two thin coats than one thick one.
Drying Time
Allow the primer to dry completely before moving on to the paint. Drying times can vary depending on the weather, but generally:
- Wait at least 3–6 hours between coats. If the door requires a second coat of primer, let the first coat dry completely.
- Let the primer cure overnight. To ensure maximum adhesion and durability, wait 24 hours before applying the paint, especially if you’re painting in cooler or more humid conditions.
Inspecting the Primed Surface
Before you begin painting, inspect the primed surface for any imperfections:
- Check for smoothness. Run your hand over the door to feel for rough spots or areas where the primer may have pooled or dripped. Sand these areas lightly with fine-grit sandpaper to ensure a smooth finish.
- Look for full coverage. Make sure the primer has fully covered any bare spots, particularly where rust or old paint was sanded off. These areas are critical for ensuring the topcoat of paint adheres properly.
By properly priming the garage door, you’re setting a strong foundation for the paint. The primer helps create an even, clean surface that allows the paint to last longer and look more professional.
Painting the Garage Door
With your garage door fully primed and prepped, it’s time for the main event: applying the paint. This step will bring the door to life, providing the fresh look you’ve been aiming for while also protecting the door from the elements.
Choosing the Right Paint
The paint you select is critical for both appearance and durability. Here are some key factors to consider:
- Exterior-grade paint: Use paint specifically designed for outdoor use. It should be weather-resistant and durable, able to withstand extreme conditions like rain, sun, and snow.
- Semi-gloss or satin finish: These finishes are popular for garage doors because they offer a subtle sheen without being too glossy. They also resist dirt and are easier to clean than matte finishes.
- Colour: When selecting a colour, consider coordinating with the rest of your home’s exterior. Lighter colours can make the garage door stand out, while darker colours tend to hide dirt and imperfections.
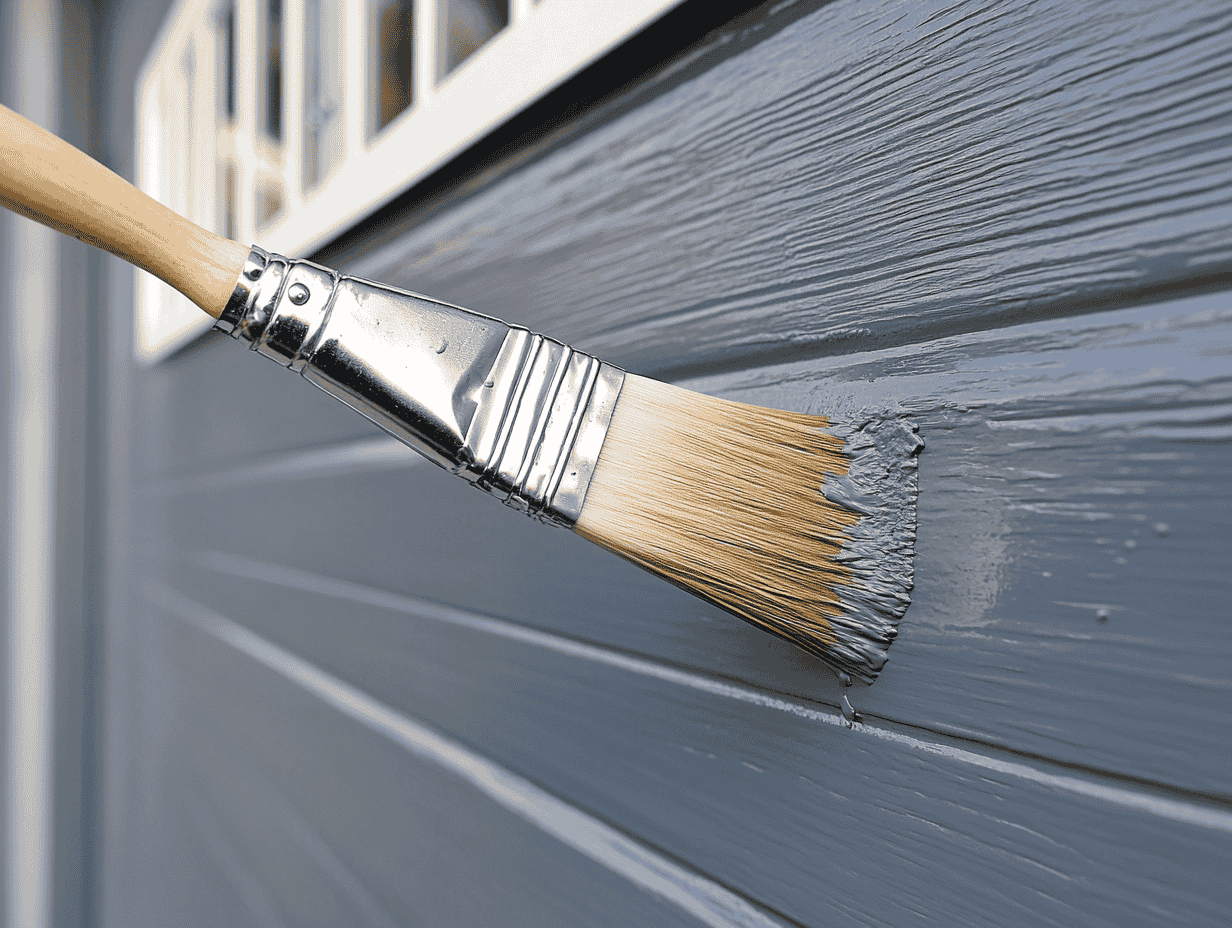
Applying the Paint
To achieve a smooth and even finish, follow these steps:
- Stir the paint thoroughly. Make sure the paint is well-mixed before starting, especially if it’s been sitting for a while. This ensures uniform colour and consistency.
- Use a roller for large areas. For the larger, flat sections of the garage door, a medium nap roller (3/8 to 1/2 inch) will provide a smooth and even coat. Start at the top of the door and work your way down, applying long, even strokes. Be careful not to overload the roller with too much paint, as this can cause drips.
- Use a brush for corners and details. For edges, corners, and detailed sections like around windows or hardware, switch to a high-quality brush. An angled brush works best for precision in tight spots.
- Work in sections. Paint the garage door in sections, especially if it has panels or raised designs. Start with the recessed areas and then move to the larger flat sections. This prevents streaks and ensures that you’re covering every part evenly.
- Apply thin, even coats. Thin coats are better than thick ones because they dry faster and more evenly. If necessary, plan for two to three coats rather than trying to cover the entire surface with one thick layer.
Drying Between Coats
Allow sufficient drying time between coats to avoid smudges and uneven finishes:
- Wait 4–6 hours between coats. Depending on the temperature and humidity, you should wait a few hours before applying another coat.
- Let the paint cure fully. After the final coat, allow the door to cure for 24–48 hours before using the garage door regularly. This ensures the paint fully hardens and won’t peel or crack.
Handling Corners, Grooves, and Panels
Garage doors often have multiple panels, grooves, and intricate details. Here’s how to tackle these tricky areas:
- Paint the grooves first. Use a small brush to paint inside the grooves and recessed areas of the door. This ensures that you get a clean, even application without missing any spots.
- Paint the raised panels afterward. Once the grooves are painted, you can roll or brush the flat raised sections of the door. Working in this order will prevent uneven finishes.
Avoiding Common Mistakes
To ensure a professional-looking finish, avoid these common pitfalls:
- Don’t paint in direct sunlight. Direct sunlight can cause the paint to dry too quickly, leading to streaks and uneven texture.
- Watch for drips. Be vigilant for any drips or pooling of paint, especially in the corners and edges. Smooth these out immediately with a brush or roller.
- Avoid over-rolling. Once the paint is applied, avoid going over the same area repeatedly, as this can cause texture inconsistencies.
With careful application and attention to detail, your garage door will start looking brand-new, dramatically improving your home’s exterior.
Finishing Touches and Clean-up
Once the paint is dry and the garage door has a fresh, even coat, it’s time to finish up by adding protective layers, cleaning up your work area, and making sure the job is truly complete. This final step ensures your hard work will last and makes the clean-up process more manageable.
Removing Painter’s Tape
Once the paint is dry to the touch, you can carefully remove the painter’s tape:
- Peel the tape off slowly at a 45-degree angle. Pulling it too fast can result in uneven edges or pulling off some new paint.
- Use a utility knife for stuck tape. If any tape seems stuck or begins to peel the paint, carefully score the edge with a utility knife to create a clean separation.
Adding a Protective Topcoat (Optional)
To enhance the durability of your freshly painted garage door, you can apply a clear protective topcoat:
- Choose a UV-resistant clear coat. This is especially useful for doors that get a lot of sun exposure. A topcoat will help prevent the paint from fading or cracking.
- Use a spray or brush-on polyurethane or exterior sealer. These options provide an additional layer of weatherproofing, making the paint job last longer, especially in harsh climates.
- Apply in thin, even coats. Like paint, thin coats work best. Wait for each layer to dry before applying the next if you opt for multiple coats.
Cleaning Up
Proper clean-up is essential, and taking care of your tools will ensure they’re ready for your next project:
- Clean brushes and rollers immediately. Rinse them with warm, soapy water if you used latex paint, or mineral spirits for oil-based paints.
- Dispose of paint responsibly. Don’t pour leftover paint or solvents down the drain. Check local guidelines for proper disposal of paint or recycling options.
- Remove drop cloths carefully. Fold them up, making sure to avoid spilling any paint that may have gathered. If reusable, allow them to dry before storing.
Inspecting the Finished Job
Once the paint has fully dried, perform a final inspection of the garage door:
- Check for touch-ups. Inspect the door under natural light for any missed spots, thin areas, or imperfections. Touch these up with a small brush as needed.
- Test the door’s functionality. Open and close the garage door to make sure there are no issues with moving parts or sticking areas. Paint build-up around hinges or seals can sometimes cause problems, so address these immediately.
Maintaining Your Newly Painted Garage Door
To ensure your garage door continues to look great and functions well:
- Wash the door periodically. A simple rinse with a garden hose and occasional wipe-down with soapy water can keep the door looking fresh and prevent dirt build-up.
- Inspect the door annually. Look for any signs of wear, chipping, or peeling paint. Address minor damage before it turns into a bigger issue.
- Repaint every 5–7 years. Depending on the climate and wear, you may need to refresh the paint every few years to maintain a bright and protective coat.
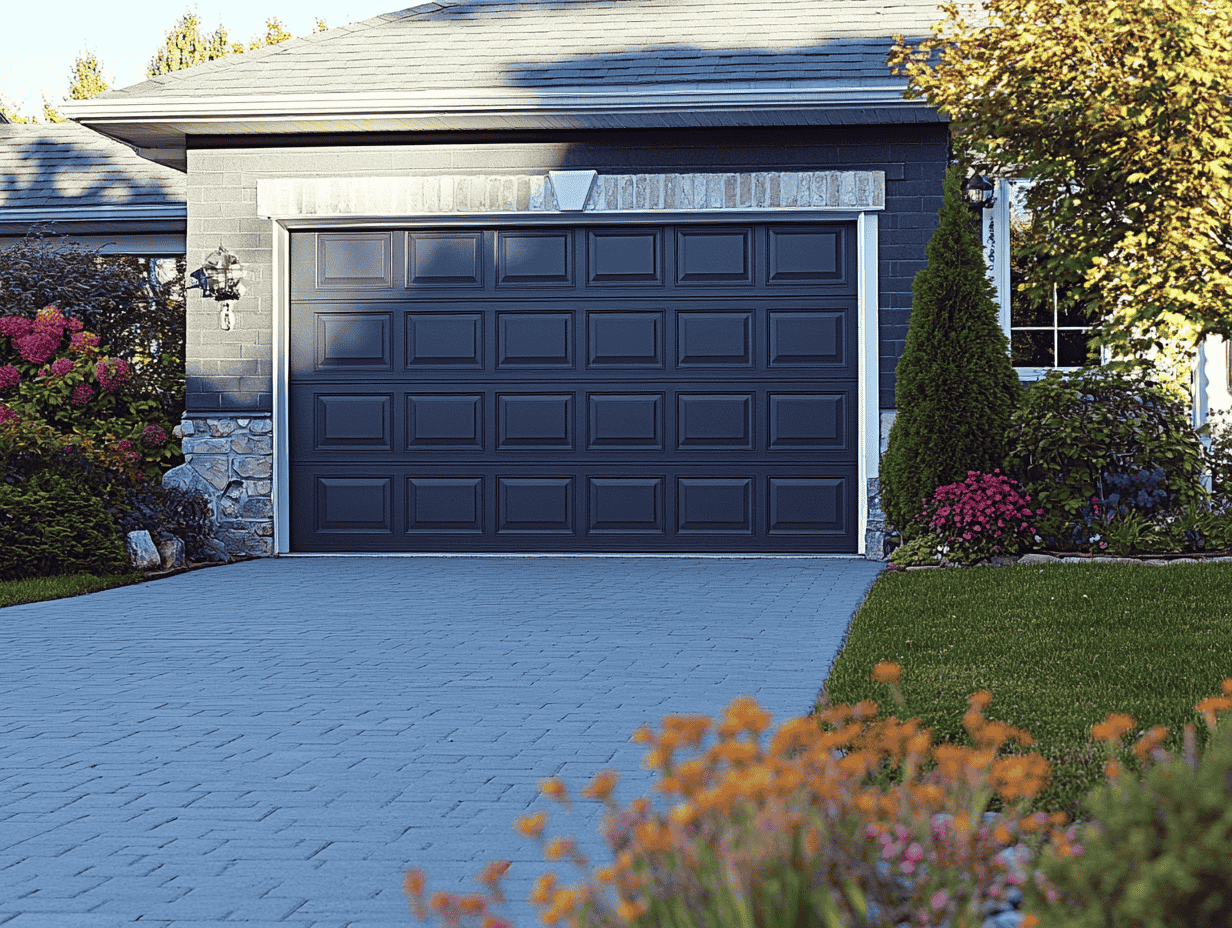
By following these finishing steps, you’ll have a beautifully painted garage door that enhances your home’s kerb appeal and is built to last. From careful taping to adding a protective coat, these final touches ensure a professional look.
Conclusion
Painting your garage door is a straightforward yet rewarding home improvement project that can dramatically enhance the appearance and longevity of your door. By following the right steps—from preparation to finishing touches—you can achieve a professional-looking result that boosts your home’s kerb appeal and protects the garage door from the elements. Thoroughly preparing the surface, using quality materials, and taking your time with the application process ensures that your new paint job will look great and stand the test of time.
Whether you’re refreshing a worn-out garage door or simply updating the look of your home, this project is a fantastic way to add value and personality to your property. With a little planning, patience, and effort, you’ll be proud of the transformation every time you pull into your drive!